Recording a Network Stream (unpublished)
Overview
Starting in Cablecast 7.2 we added the ability to independently record Network Stream Sources. Before this, you were only able to record Network Streams as they played out Live on your channel. Now you can record Network Streams directly to your server without needing them to be played live.
In this article we will go over how to Schedule a Recording of a Network Stream as well as how to manually record. To learn about setting up Network Capture, be sure to check out our article on that topic.
One thing to note about Network Playback and recording on a VIO server. The VIO servers are built to handle any combination of what I/O your server can handle. For example, a VIO4 is meant to handle a total of 4 things happening at once in any combination of video file playback, recording, Network Stream playback, and Network Capture. You don't want to exceed that number or else your server won't be able to keep up to the demand and issues will start happening.
Scheduling a Network Capture
To setup a scheduled recording of a Network Stream, click on the Schedule icon at the top of the menu bar on the lefthand side. Then click on the Channel dropdown menu and select Record Schedule.
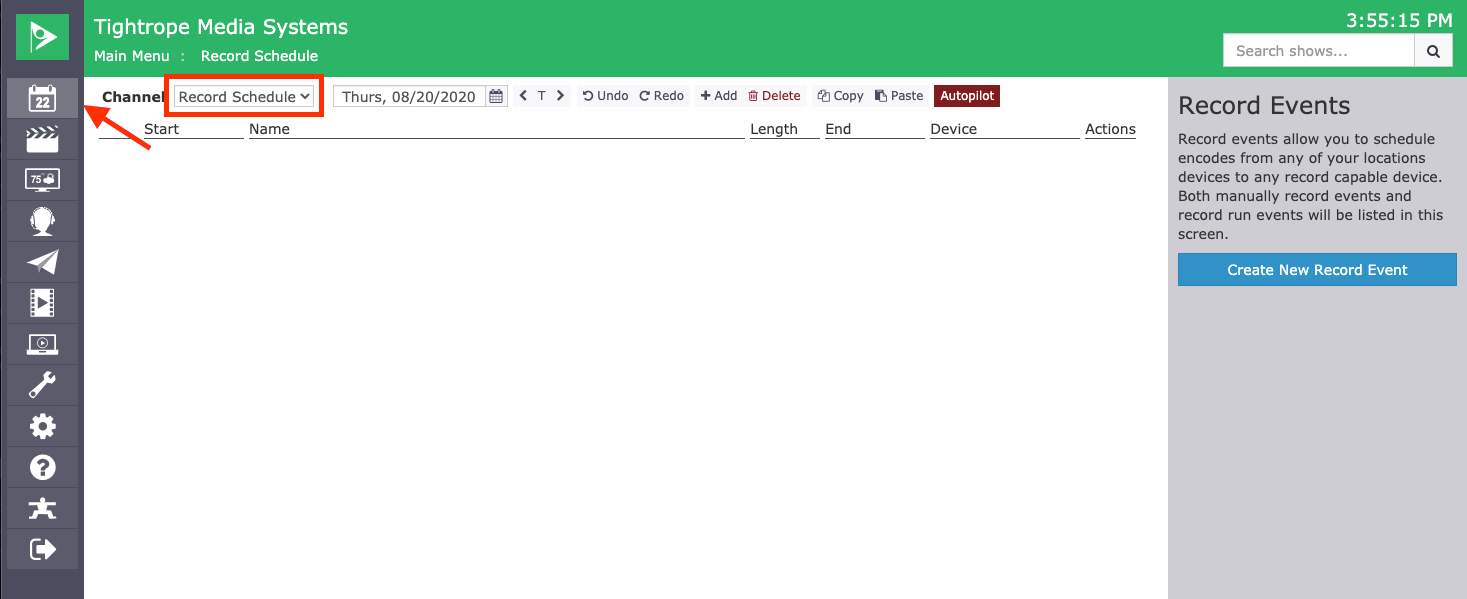
Navigate to the day of your event you are wanting record and then click on the Create New Record Event on the right.

The New Record Event menu will open on the righthand side. Under Settings, put in a Name for your record event. Then enter the Start time and the Length of the event.
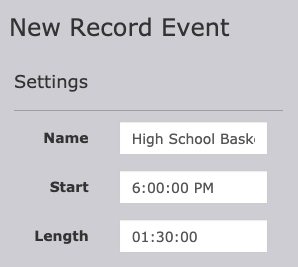
Under Source, we are going to select Network Stream as our Device. Then under Destination we will select our Network Capture option in the Device dropdown menu. Now we can select the Stream that we want to capture. (You will want to make sure you set up your stream before setting up the record) File Key is what the file will be named when it saves after the recording. If you leave this field blank it will default to what you have in the Record Event Name. Lastly, you can leave the Cue at 00:00:00, unless you want your recording to start slightly early, then click save.
Once saved you will then need to send Autopilot and your scheduled recording is all set.
Manually Recording a Network Stream
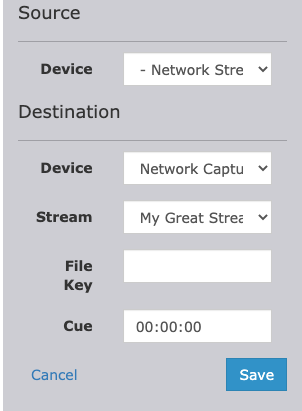
You manually record a Network Stream we are going to navigate to the Force Matrix. Click on the Autopilot icon in the menu bar on the left and then select Force Matrix.
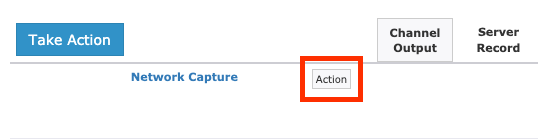
In the Force Matrix you will have the new Network Capture device that you created. To start your recording, click on the action button for that device.
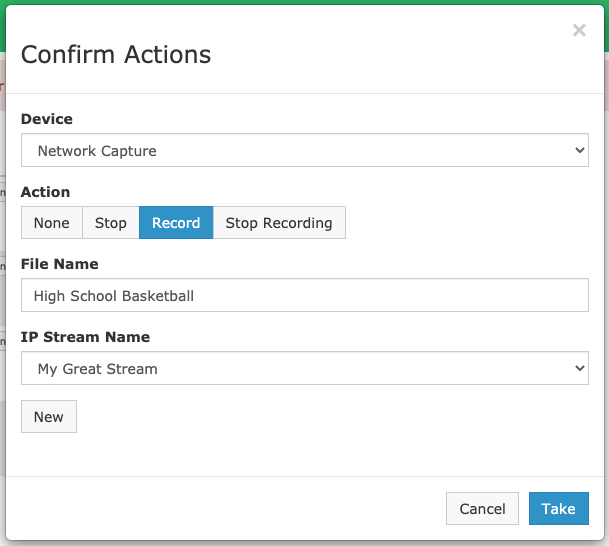
A new Action window will open. Click on the Record option, then put in a name you want for the file you are about to record. Then click on the dropdown menu for IP Stream Name and select the stream you want to record. When ready to start the recording click Take in the bottom right.
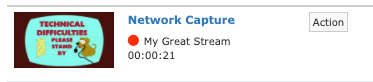
Your stream will display a thumbnail preview of what it is recording and it will also give you a time indication of how long you have recorded for with a Red Circle indicating that you are recording.
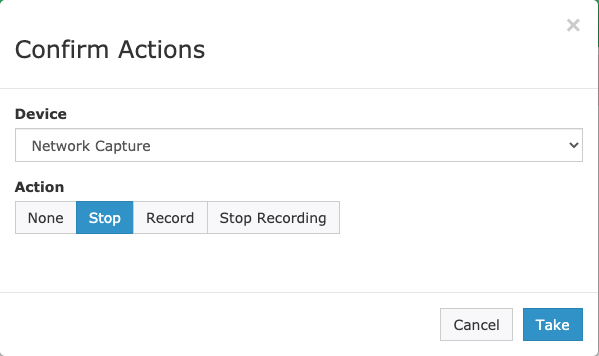
To stop your recording, click on the Action button again. The Actions window will open again and Stop will automatically be selected for you. When you are ready to stop click Take.
Your files will be saved to your Content drive and appear as unlinked files.