How To Create An Uploaded Bulletin
Overview
An uploaded bulletin is a quick way to display a self-contained image or video on your channel. These files are usually created outside Cablecast CG — for example, a graphic designed in a third-party tool like Canva or Photoshop, a pre-made bulletin supplied by a community member or local organization, or a video such as a PSA or station ID. Unlike template and dynamic bulletins, an uploaded bulletin can't be edited inside Cablecast CG — you upload the file as-is, then schedule and publish it. This article walks through creating one.
Navigating to Cablecast CG
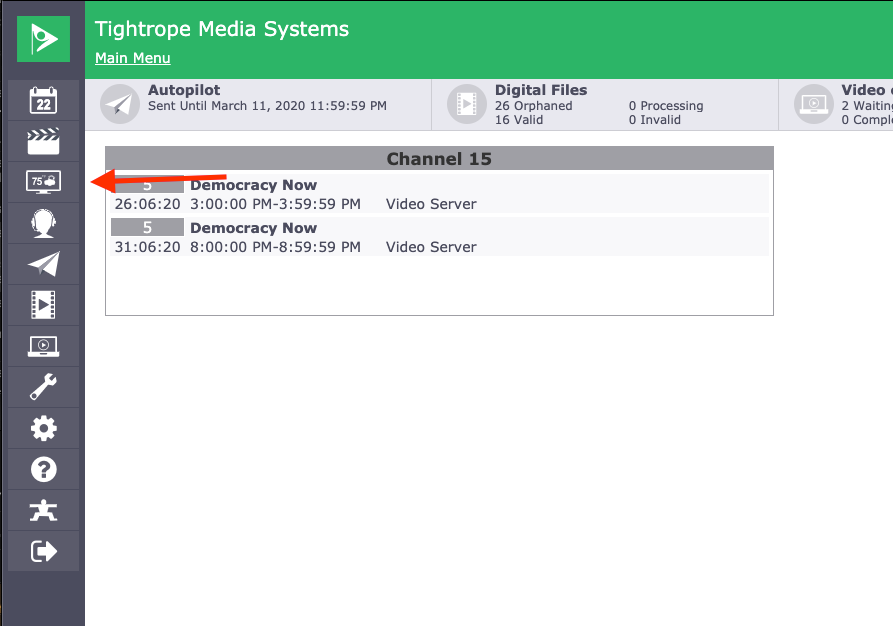
Go to Cablecast CG in the left-hand menu.
At the Cablecast CG main menu, make sure you are in the zone you want to work in. To learn more, see Navigating Between Zones in Cablecast CG.
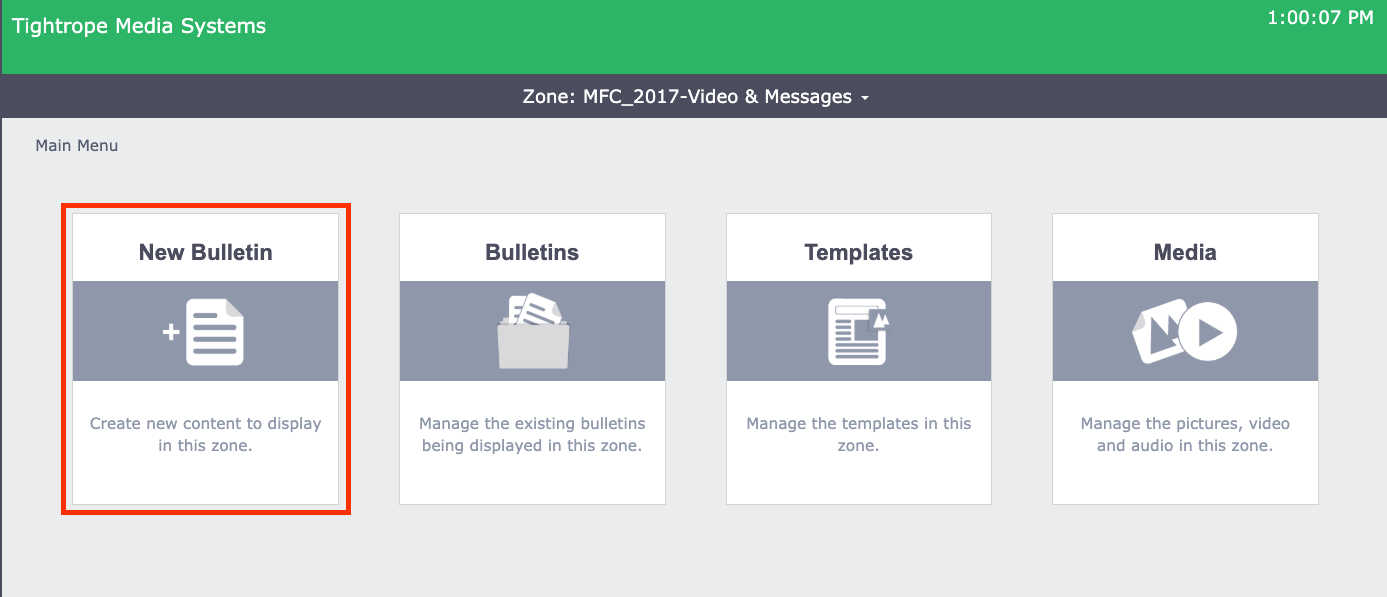
Once you are in the correct zone, you will see four options. Select New Bulletin.
Creating an Uploaded Bulletin
There are three types of bulletins: Template, Uploaded, and Dynamic. The other two are covered in separate articles.
Uploaded bulletins are self-contained: you upload an image or video as-is and can't edit it within Cablecast CG. Keep one limitation in mind — an uploaded bulletin fills the entire zone, so it does not preserve the file's aspect ratio. An image or video shaped differently from the zone will be stretched to fit. To size your file to the zone and avoid distortion, see Specific Zone Pixel Dimensions for Cablecast CG Bulletins.
In the New Bulletin screen, select Uploaded.
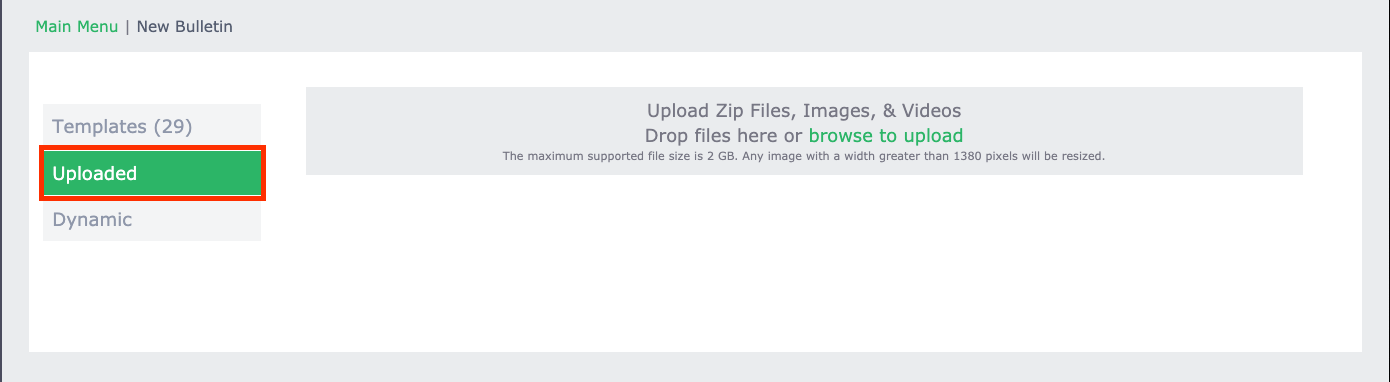
Add your file in one of two ways: drag it into the Drop files here area, or select browse to upload to find it in the file system of the computer you're signed in on.
Note
Cablecast CG accepts images and videos, as well as Zip files containing multiple images. The maximum file size is 2 GB. Images larger than the zone they're uploaded to are resized to fit, so it's best to size your file to the zone's dimensions before uploading.
Scheduling Your Bulletin
Because an uploaded bulletin can't be edited, you only need to schedule and publish it.
A single zone can play multiple bulletins in rotation. Scheduling controls when this bulletin is available to display — the dates and days it's active — not where it falls in the rotation. The order bulletins play in is set separately, in Managing Bulletins in Cablecast CG.
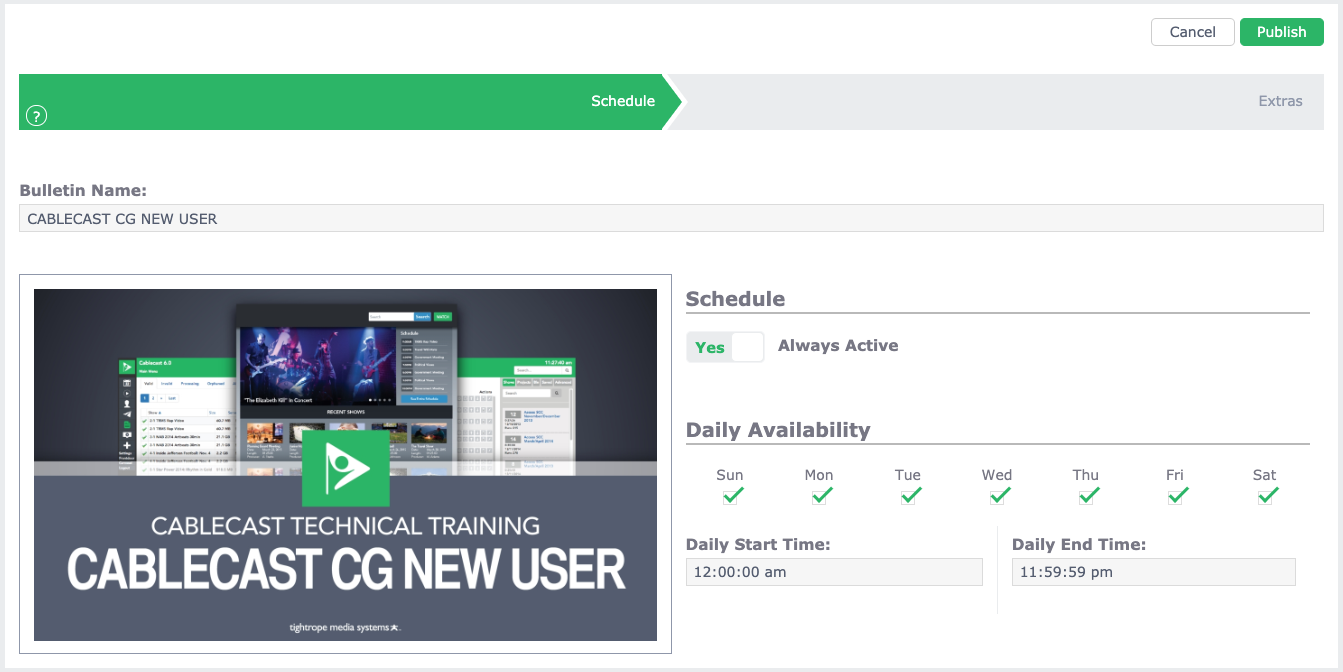
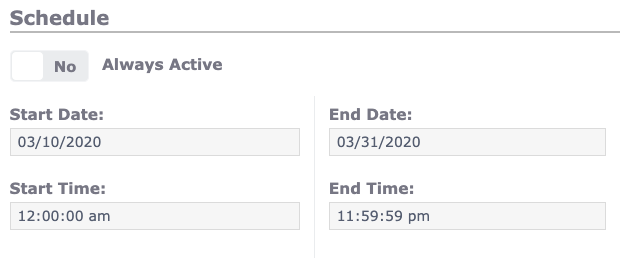
Every new bulletin defaults to Always Active, meaning it stays in rotation until you remove or delete it. To set a date range instead, switch Always Active to No and enter a Start date and time and an End date and time. Cablecast CG adds and removes the bulletin from the zone automatically according to that schedule.
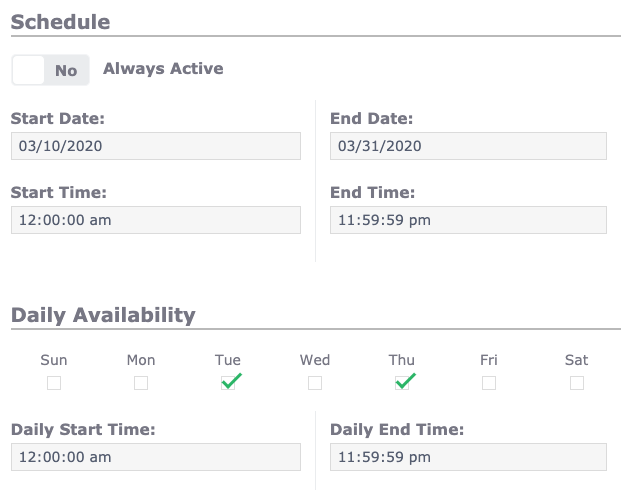
Below that is the Daily Availability section, where you can narrow the schedule further. For example, for an event that happens only on Tuesdays and Thursdays, uncheck the other days so the bulletin appears only on those two.
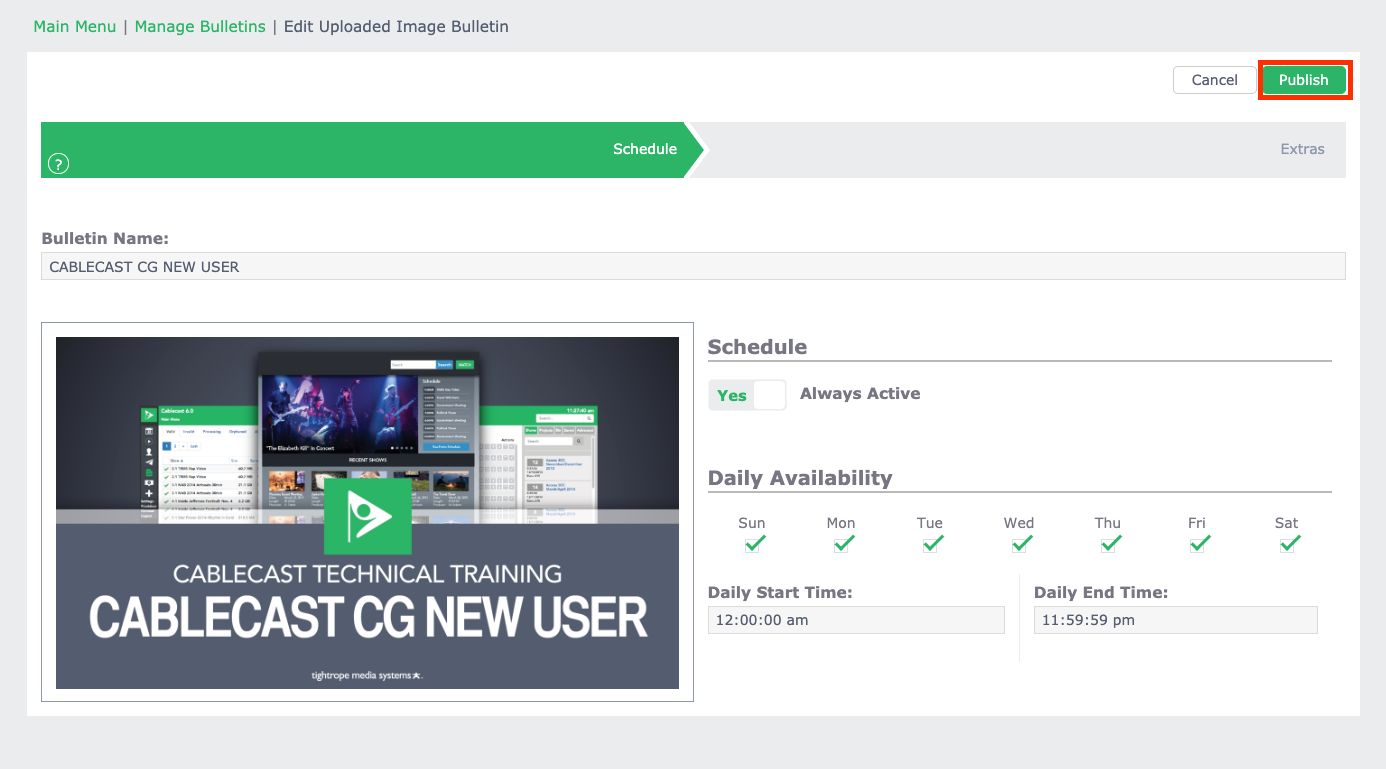
Once your bulletin is scheduled, select Publish at the top right.
Summary
An uploaded bulletin displays a self-contained image or video that you can't edit in Cablecast CG. Go to the correct zone, select New Bulletin, then Uploaded, and add your file by dragging it in or browsing for it. Because the bulletin fills the zone and won't preserve aspect ratio, size your file to the zone's dimensions first. Set the schedule to Always Active or to a specific date range, narrow it with Daily Availability if needed, and select Publish.
To see this in action, watch the Uploaded Bulletins section of the Cablecast CG Training Video.
