Sending Autopilot
Sending Autopilot activates your schedule and queues it for processing in the background. The interface updates automatically as the send progresses through each step.
How to Send Autopilot
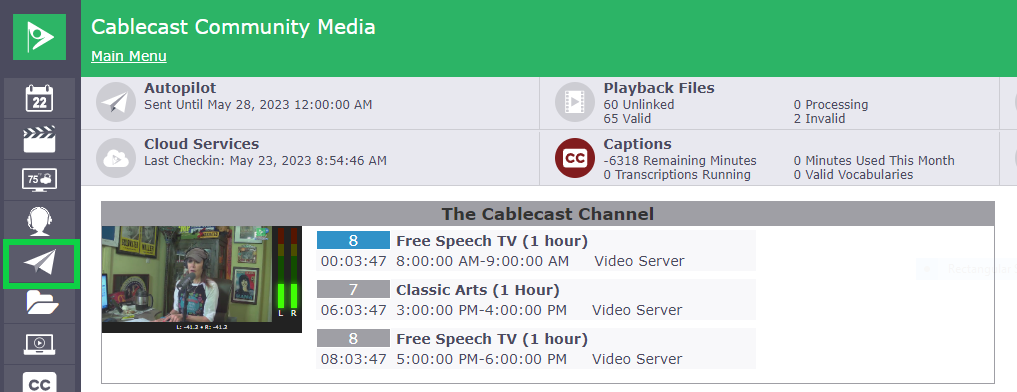
Go to Autopilot in the left-hand menu.
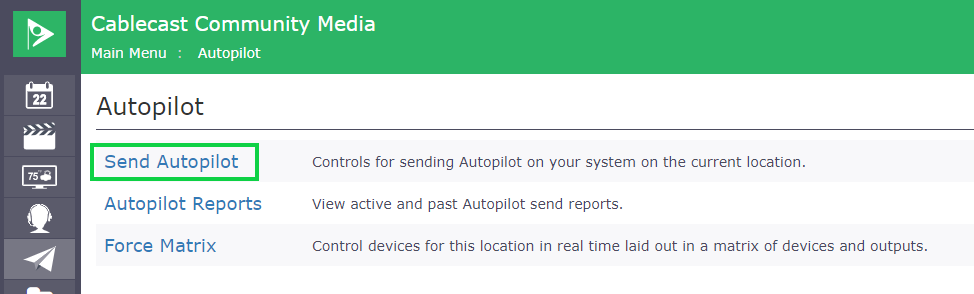
Click “Send Autopilot”
Review and adjust the Autopilot settings as needed.
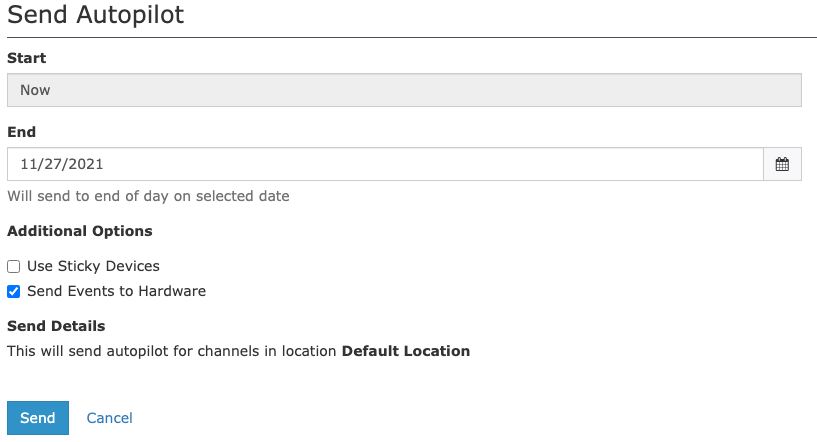
End — Autopilot calculates your schedule from the time of the send through the end date you specify. Set this to roughly the amount of time your schedule is unlikely to change — typically three to four days for most stations. Sending too far out (10 or more days) can result in longer send times and is inefficient, since Autopilot will likely be sent again before that data is needed.
Use Sticky Devices — This is a legacy feature that applies only to physical media-based devices such as tape decks and DVD players. It has no effect on video servers or live sources.
Send Events To Hardware — Keep this checked in most cases. It ensures Autopilot forwards all events to the servers configured in your system. This setting should only be disabled under direction from Cablecast Support for specific troubleshooting scenarios.
Click Send. Autopilot is now queued for processing.
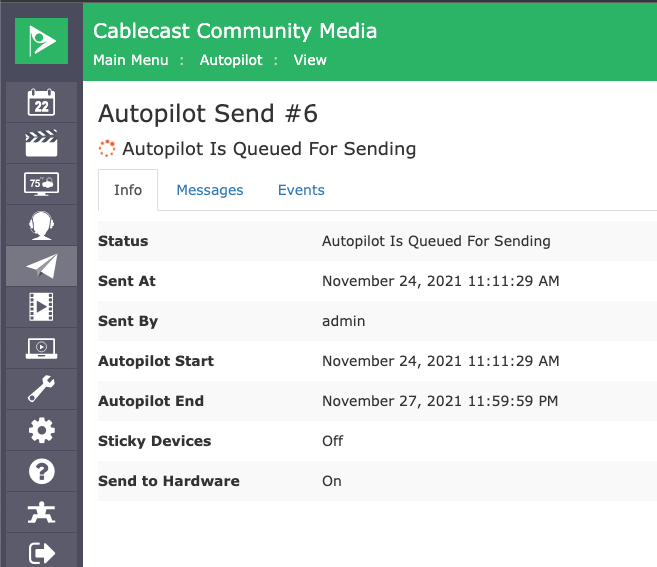
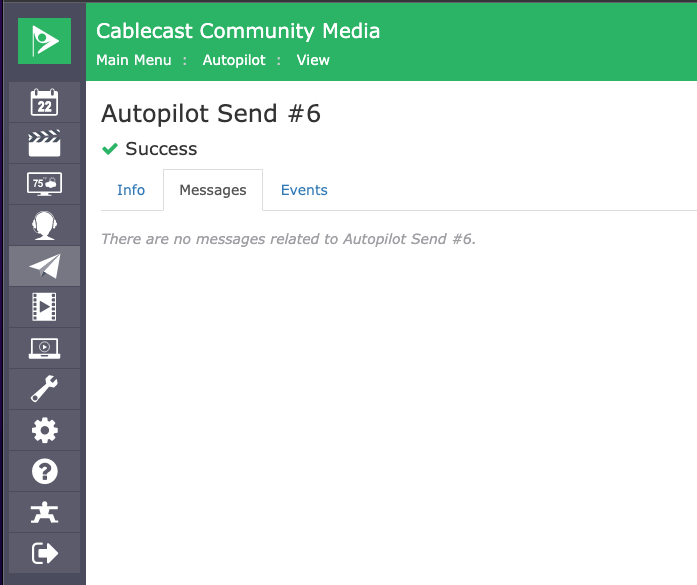
When the send is complete, the Send Report Messages and Events are available under the Messages and Events tabs.